This manual provides comprehensive guidance for diagnosing and repairing issues with the Kenmore Washer Model 110; It covers troubleshooting, maintenance, and step-by-step repair instructions to ensure optimal performance and extend the lifespan of your appliance․ Whether you’re addressing noise problems, fixing unbalanced loads, or resolving drying issues, this guide offers detailed solutions․ Use it to maximize efficiency and keep your washer running smoothly․
Overview of the Kenmore Washer Model 110
The Kenmore Washer Model 110 is a reliable top-load washing machine designed for efficient cleaning․ Known for its durability, it features a robust design and straightforward controls․ Common issues include noise from unbalanced loads or worn bearings, and clothes not drying properly․ The model’s repair manual, available through Sears Parts Direct, provides detailed troubleshooting and repair guidance․ Regular maintenance, such as checking belts and bearings, can prevent major problems․ This overview highlights key aspects of the washer and the importance of proper care to ensure long-term performance․
Importance of Using a Repair Manual
Importance of Using a Repair Manual
Using a repair manual for the Kenmore Washer Model 110 is essential for safe and effective troubleshooting․ It provides detailed instructions, diagrams, and error codes to help diagnose issues accurately․ The manual ensures that repairs are done correctly, preventing further damage to the appliance․ By following the guide, you can address common problems like noise, unbalanced loads, or drying issues efficiently․ It also helps avoid costly professional services by empowering you with the knowledge to handle repairs yourself․ Regular maintenance routines outlined in the manual can extend the washer’s lifespan and performance․
Safety Precautions Before Starting Repairs
Before starting any repair on your Kenmore Washer Model 110, ensure your safety by following essential precautions․ Always disconnect the power supply to avoid electrical shocks or injuries․ Wear protective gloves and eyewear to prevent harm from sharp edges or debris․ Ensure the washer is stable and on a level surface to prevent tipping․ Never bypass safety features or attempt repairs beyond your skill level․ If unsure, consult a professional․ Keep children and pets away from the work area․ Proper tools and adherence to manual instructions are crucial for safe and effective repairs․
Where to Find the Kenmore Washer Model 110 Repair Manual
The Kenmore Washer Model 110 repair manual can be found on Sears Parts Direct, the Kenmore website, or alternative sources like ManualsLib for free download․
Downloading the Manual from Sears Parts Direct
To obtain the Kenmore Washer Model 110 repair manual, visit the official Sears Parts Direct website․ Use the search bar to enter your model number, “Kenmore 110,” and locate the manual․ Most manuals are available for free download in PDF format․ This resource provides detailed troubleshooting guides, step-by-step repair instructions, diagrams, and maintenance tips․ Ensure you download the correct version corresponding to your specific model for accurate information and effective repairs․
Accessing the Manual Through the Kenmore Website
Accessing the Manual Through the Kenmore Website
Visit the official Kenmore website and navigate to the “Support” or “Manuals” section․ Enter your Kenmore Washer Model 110 number in the search bar to locate the manual․ Once found, click the download link to access the PDF document․ This manual includes troubleshooting guides, repair instructions, and diagrams specific to your model․ It’s a valuable resource for DIY repairs and maintenance, ensuring you have the information needed to keep your washer functioning optimally․ Always verify the model number for accuracy before downloading․
Alternative Sources for the Repair Manual
Alternative Sources for the Repair Manual
Besides Sears Parts Direct and the Kenmore website, alternative sources for the repair manual include third-party websites like ManualsLib, ManualsOnline, or RepairClinic․ These platforms often host PDF versions of the manual for free or for purchase․ Additionally, online forums and appliance repair communities may share downloadable links or provide step-by-step guides based on the manual․ Some retailers, such as eBay, might also offer the manual as part of repair kits․ Always verify the source’s reliability to ensure you’re downloading the correct and complete manual for your Kenmore Washer Model 110․
Understanding the Repair Manual
The Kenmore Washer Model 110 Repair Manual is a detailed guide designed to help users understand and perform various repairs․ It includes a comprehensive index for easy navigation and features diagrams and illustrations to assist with troubleshooting and maintenance tasks․
Navigating the Manual’s Index and Page Numbers
Navigating the Manual’s Index and Page Numbers
The Kenmore Washer Model 110 Repair Manual features a detailed index at the back, allowing users to quickly locate specific sections and parts․ Each entry in the index is alphabetically organized, making it easy to find relevant information․ Page numbers are clearly listed next to each topic, ensuring seamless navigation․ Users can cross-reference parts with diagrams to identify components accurately․ The index also includes troubleshooting guides, helping users pinpoint issues and find solutions efficiently․ This feature ensures that repairs are conducted systematically and effectively, minimizing downtime and frustration․
Key Sections of the Manual for Common Repairs
Key Sections of the Manual for Common Repairs
The Kenmore Washer Model 110 Repair Manual includes essential sections for addressing common issues․ The troubleshooting guide helps identify problems like noise, unbalanced loads, and drying issues․ Diagrams and illustrations provide visual references for disassembling and reassembling parts․ A dedicated section on error codes explains their meanings and solutions․ Additionally, the manual highlights critical areas such as belt replacements, bearing inspections, and leak repairs․ These sections are designed to guide users through repairs efficiently, ensuring they can resolve issues without unnecessary complexity․ Regular maintenance tips are also included to prevent future problems․
How to Use the Manual’s Diagrams and Illustrations
Refer to the manual’s index to locate diagrams relevant to your repair․ Each diagram is labeled with part numbers and descriptions, cross-referenced with the parts list․ Use the illustrations to identify components and their locations․ Compare diagrams with your washer to ensure accuracy․ Color-coded elements highlight critical areas for repairs․ Follow the visual guides for disassembly and reassembly․ Diagrams also indicate torque specifications and proper alignment․ Use these visuals to align with written instructions, ensuring precise repairs and minimizing errors․ This feature is invaluable for DIY enthusiasts and professionals alike․
Common Issues and Troubleshooting
Identify symptoms like noise, vibrations, or clothes not drying․ Check error codes for clues․ Inspect belts, bearings, and drain pumps․ Address imbalanced loads promptly to prevent damage․
Diagnosing Noise Issues in the Washer
Diagnosing Noise Issues in the Washer
Noise issues in the Kenmore Washer Model 110 can stem from unbalanced loads, worn bearings, or loose parts․ Start by checking if the washer is evenly loaded․ If the noise persists, inspect the bearings and tub for wear․ Consult the manual for error codes or diagrams to pinpoint the source․ Ensure the washer is level and stable․ If the issue remains unresolved after these checks, consider professional assistance or replacing faulty components to restore quiet operation․
Fixing Unbalanced Load Problems
Unbalanced loads are a common issue in the Kenmore Washer Model 110; To fix this, redistribute clothes evenly, ensuring the washer tub isn’t overloaded․ Check for loose items causing noise․ If the washer vibrates excessively, adjust its leveling legs to ensure stability․ Refer to the manual for load size recommendations․ If imbalance persists, inspect for worn-out balance rings or springs and replace them if necessary․ Regular maintenance and proper loading practices can prevent future unbalanced load problems and extend the washer’s lifespan․
Addressing Issues with Clothes Not Drying Properly
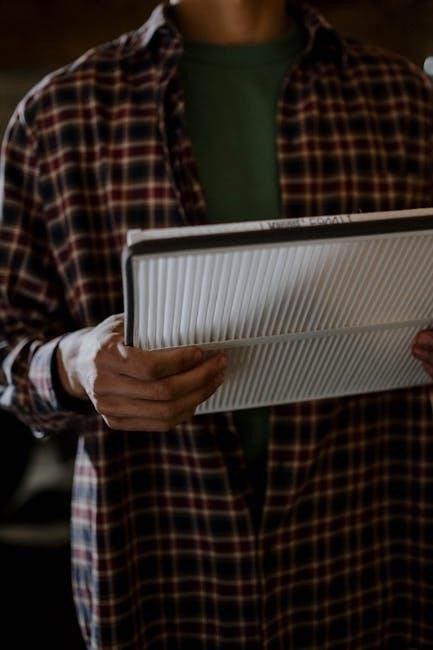
If clothes aren’t drying properly in your Kenmore Washer Model 110, check for issues like clogged filters, faulty heating elements, or improper detergent use․ Ensure the drain pump filter is clean, as debris can prevent water from draining fully․ Verify the lid switch is functioning correctly, as an open lid can disrupt the drying cycle․ Consult the manual for error codes related to heating or drainage problems․ Inspect and clean the moisture-sensing sensors to ensure accurate cycle control․ Regular maintenance and addressing these issues can restore proper drying performance to your washer․
Tools and Parts Needed for Repair
Essential tools include screwdrivers, pliers, and wrenches․ Common parts like belts, bearings, and seals may need replacement․ Always refer to the manual for specific requirements․
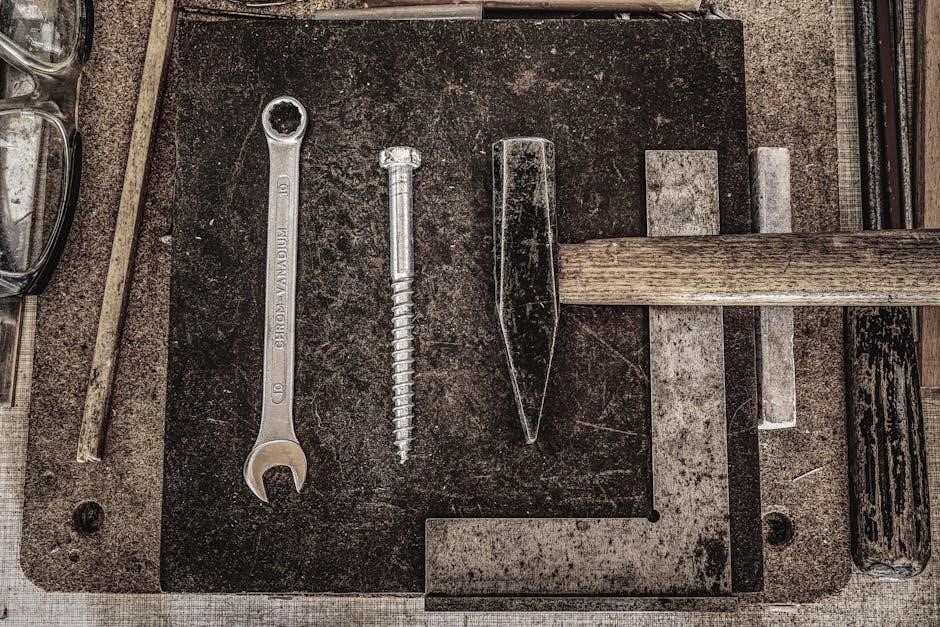
Essential Tools for Kenmore Washer Repair
For effective Kenmore Washer Model 110 repairs, gather essential tools like adjustable wrenches, screwdrivers, pliers, and torque wrenches․ These tools help dismantle and reassemble components safely․ Additionally, a multimeter is useful for diagnosing electrical issues․ Always ensure tools are of high quality to avoid damaging the washer’s parts․ Refer to the repair manual for specific tool recommendations tailored to your model․ Proper tools are crucial for successful DIY repairs and maintaining appliance longevity․ Keep them organized for easy access during the repair process․
Identifying and Ordering Replacement Parts
Identifying the correct replacement parts for your Kenmore Washer Model 110 is crucial for successful repairs․ Use the model number (e․g․, 11025132411) to search on Sears Parts Direct or the Kenmore website․ Refer to the repair manual’s part diagrams to locate specific components․ Ensure accuracy by cross-referencing part numbers before ordering․ Genuine parts are recommended to maintain performance and longevity․ Order online or through authorized dealers to avoid counterfeit items․ Proper identification and ordering of parts ensure a smooth repair process and prevent further issues․
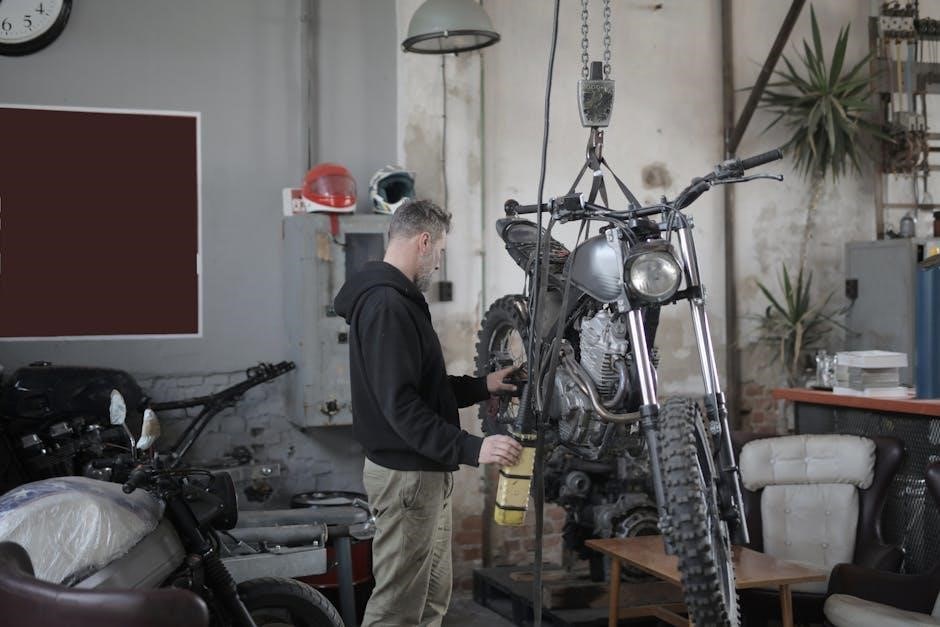
Step-by-Step Repair Guides
This section offers detailed, step-by-step instructions for common Kenmore Washer Model 110 repairs, ensuring easy and effective DIY fixes for various issues and parts․
Replacing Worn-Out Bearings
Worn-out bearings are a common cause of noise in your Kenmore Washer Model 110․ To replace them, start by disconnecting power and water supply․ Remove the washer tub to access the bearings․ Use a socket wrench to remove the old bearings and install new ones․ Ensure proper alignment and tightening․ Lubricate the bearings if necessary․ Reassemble the washer and test it to ensure the noise issue is resolved․ Refer to the manual for specific torque specifications and diagrams to guide the process accurately․
Repairing or Replacing the Washer’s Belt
A worn or damaged belt can cause noise and reduce the washer’s efficiency․ To repair or replace it, first disconnect power and water supply․ Access the belt by removing the lower panel or back panel, depending on your model; Inspect the belt for cracks or wear․ If damaged, replace it with a compatible Kenmore belt․ Ensure proper alignment and tension to avoid misalignment issues․ Reassemble the panels and test the washer to confirm the repair․ Regular belt inspections can prevent future problems and maintain optimal performance․
Fixing Leaks in the Washer Tub
Leakages in the washer tub can stem from worn-out seals, loose connections, or damaged hoses․ Start by identifying the source of the leak․ Inspect the tub seals, gaskets, and hoses for signs of wear or damage․ Tighten any loose connections and replace damaged components with genuine Kenmore parts․ Apply a small amount of plumber’s sealant to gaskets if necessary․ After repairs, run a test cycle to ensure the leaks are resolved․ Regular inspections can help prevent future issues and maintain the washer’s performance and longevity․

Advanced Diagnostic Techniques
Advanced diagnostics involve using error codes, testing electrical components, and inspecting the drain pump and motor to identify complex issues efficiently․ This method ensures precise troubleshooting․
Using Error Codes to Identify Problems
Error codes are essential for diagnosing issues in the Kenmore Washer Model 110․ These codes, such as “E1” or “E2,” indicate specific problems like sensor malfunctions or drainage issues․ By referencing the manual, you can decode these errors and identify the root cause․ Advanced troubleshooting involves checking the control board and wiring connections․ Regularly updating your manual ensures access to the latest error code explanations․ This method streamlines repairs and helps you address problems efficiently without guesswork․
Testing the Washer’s Electrical Components
Testing electrical components is crucial for diagnosing issues in the Kenmore Washer Model 110․ Use a multimeter to check for continuity and voltage in wiring and sensors․ Inspect the control board for signs of damage or corrosion․ Ensure all connections are secure and free from wear․ Refer to the manual for specific error codes related to electrical faults․ Always disconnect power before testing to avoid hazards․ This step-by-step approach helps identify faulty components accurately, ensuring safe and effective repairs․
Inspecting the Drain Pump and Motor
Inspecting the drain pump and motor is essential for ensuring proper water drainage and motor function in your Kenmore Washer Model 110․ Check the drain pump for blockages, such as debris or lint, and ensure it is free from damage․ Test the motor by running a spin cycle to verify smooth operation․ Look for signs of wear or corrosion on connections and hoses․ If issues persist, consult the repair manual for specific diagnostic steps and potential replacements․ Regular inspection helps prevent breakdowns and maintains efficient performance․
When to Call a Professional
Call a professional if issues exceed your DIY expertise, such as complex electrical faults or internal damage․ Certified technicians ensure safe, effective repairs and warranty compliance․
Knowing Your Limits in DIY Repairs
Knowing Your Limits in DIY Repairs
Recognizing your limits in DIY repairs is crucial for safety and effectiveness․ While minor issues like unbalanced loads or loose belts can often be fixed independently, complex problems such as electrical malfunctions or internal component damage may require professional expertise․ Understanding when to seek help prevents further damage and ensures repairs are done safely and correctly․ Always assess your skill level and the complexity of the issue before proceeding with DIY solutions․
Finding a Certified Kenmore Repair Service
Finding a Certified Kenmore Repair Service
For complex repairs beyond DIY capabilities, finding a certified Kenmore repair service is essential․ Sears Parts Direct and the Kenmore website offer resources to locate authorized technicians․ Ensure the service is certified by Kenmore to guarantee expertise and genuine parts․ Additionally, check online reviews and ask for recommendations to find reliable professionals․ Certified technicians ensure repairs are done safely and effectively, maintaining your washer’s performance and warranty․ Always verify certifications and credentials before scheduling a service call․
Maintenance Tips to Prevent Future Issues
Regular cleaning and proactive part replacement are key to preventing future issues․ Check for worn parts and ensure proper maintenance routines to keep your Kenmore washer running smoothly․
Regular Cleaning and Maintenance Routines
Regular Cleaning and Maintenance Routines
Regular cleaning and maintenance are essential for optimal performance of your Kenmore Washer Model 110․ Start by running a cleaning cycle with a washer cleaner or vinegar to remove residue․ Check and clean the gasket and drain pump filter regularly to prevent clogs․ Ensure the washer is balanced to avoid vibration issues․ Wipe down the exterior and leave the lid open after use to dry the interior․ These simple routines help prevent mold, mildew, and mechanical problems, ensuring your washer runs efficiently for years․
Checking and Replacing Worn Parts Proactively
Checking and Replacing Worn Parts Proactively
Regularly inspecting and replacing worn parts in your Kenmore Washer Model 110 can prevent major repairs․ Check the bearings, belts, and drain pump for signs of wear․ Refer to the manual’s diagrams for guidance on identifying worn components․ Use error codes to pinpoint issues early․ Replace parts like seals or hoses before they fail․ Proactive maintenance ensures smooth operation and extends the washer’s lifespan․ Keep a list of commonly worn parts and order replacements as needed to avoid unexpected breakdowns․
Final Thoughts on Repairing Your Kenmore Washer
Final Thoughts on Repairing Your Kenmore Washer
Repairing your Kenmore Washer Model 110 can be a rewarding experience with the right guidance․ Regular maintenance and proactive checks can prevent major issues․ Always refer to the manual for troubleshooting common problems like noise or unbalanced loads․ Don’t hesitate to seek professional help when needed․ Keep this manual handy for future reference and use it effectively to ensure your washer runs smoothly for years to come․ Happy DIY repairing!
Encouragement to Use the Manual Effectively
Encouragement to Use the Manual Effectively
Using this repair manual effectively can empower you to take control of your Kenmore Washer Model 110’s maintenance and repairs․ By following the guidance, you can troubleshoot issues confidently and perform DIY fixes successfully․ Regularly refer to the manual for maintenance tips to prevent future problems․ Explore the resources like Sears Parts Direct and the Kenmore website for additional support․ With this manual, you’ll save time and money while ensuring your washer runs efficiently for years to come․ Happy repairing!